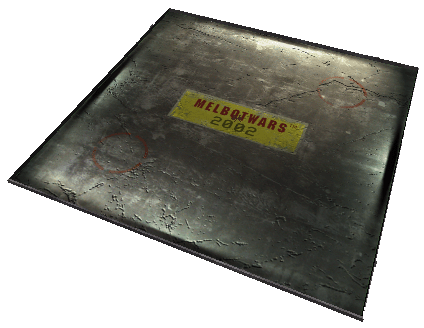

Building the Arena:
1. Ground Plane
· Open the scene file in Maya containing your robot:
· Create a nurbsPlane and scale it up to 40x40 units in X and Z
· Change the makeNurbsPlane1 patchesU and patchesV attributes to 10.
This will allow you to add warps and bumps to the ground plane later.
· Rename the plane to arenaGroundPlane and make it a passive rigidBody.
2. Arena Border
We are going to create the border using a torus primitive. This will give us a nice closed solid geometry very easily.· Create a polygonal torus primitive: Create>Polygon Primitives>Torus
· Select the polyTorus1 node from the ChannelBox, change the subdivisionAxis and
subdivisionHeight to 4. Set the radius to 28.42, the sectionRadius to 0.2,
and the twist to 45.0.
· Scale the torus up to 3.556 in Y and translate it up in Y by 0.5, and set rotateY to 45.0.
· Rename the torus to arenaBorder
· Group the arenaGroundPlane and arenaBorder and rename the parent node to ARENA.
· Delete the history on all the geometry and freeze the transforms:
Modify>Freeze Transformations. Now we have a geometry that is 1 unit tall
and scaled 1 in Y so now when we scale it in Y that number will correspond to the actual
height of the object. In advanced MelBotWars the height will be scaled to 0.6 in Y.
(you can set it to 1 for beginner level testing).
3. Rigid Body Settings
Ground
Plane
· bounciness = 0.3Border
· static/dynamic friction = 0.5
· collision layer 0
· border 1 unit tall, bounciness = 0.6
· bounciness = 0.6
· static/dynamic friction = 0.5
· collision layer = 0
Lastly add gravity to the scene for MelBots to connect with. Make sure it is called gravityField1 with a magnitude of 32.0.
The opponents will start at X = 11, Z = -11 and X = -11, Z = 11 in opposing corners. You can assign the included texture arena_file.jpg to the ground plane, and arenaBorder_file.jpg to the border with a repeatU of 4.
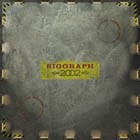
Click on the image below to download the Siggraph 2002 version of the Arena ground plane painted by Ron Woodall:
© Copyright 2002 Habib Zargarpour


